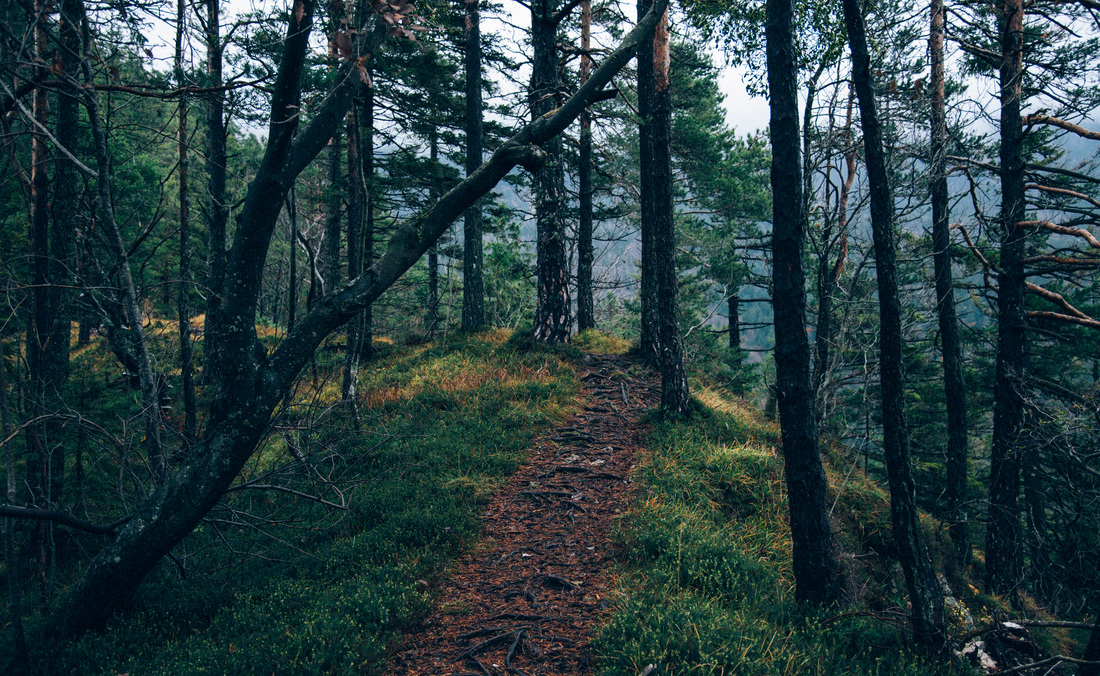
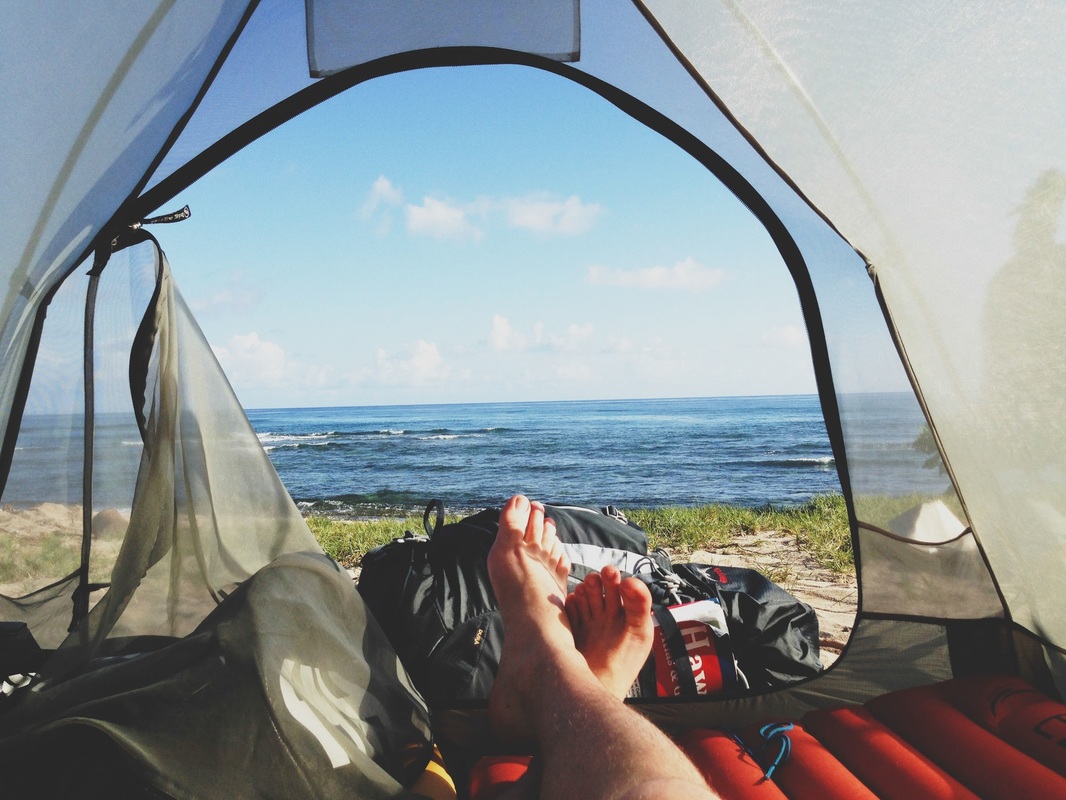
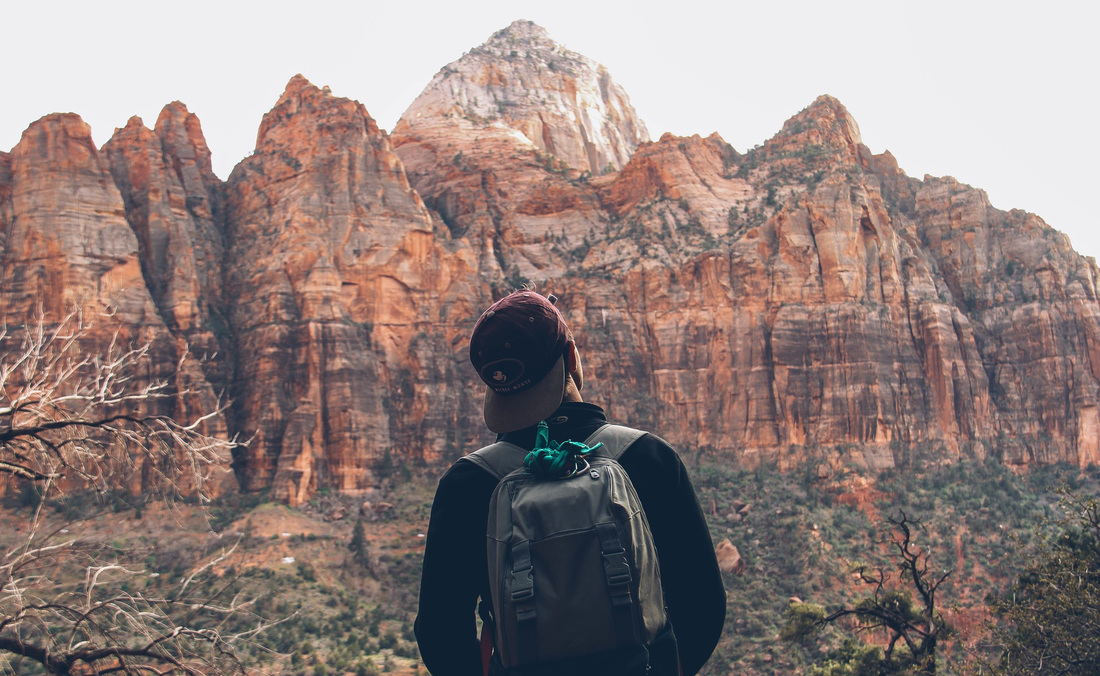
I'm James. This is my year of travel.

My only suggestion would be an option for the display to stay backlit. Promising review: " I love this timer to keep me on task while working from home! For the price, I was honestly impressed with the quality. There are also four volume options in case you don't want to disrupt any other people in your home. You can set the timer for 5-, 10-, 15-, 20-, and 30-minute blocks by rotating it to the time you want. Get it from Amazon for $21.79+ (available in eight colors).Īnd if you're as obsessed with Jenae's mug as I am, you can get it from Dipped In Rose on Etsy for $15.99. Also, I looove how sleek the white version looks on my white desk, and the auto-shutoff function is a nice safety feature as an absent-minded person." I can confirm that flat-bottomed mugs are the best option for using with this warmer as they do stay hotter, but it still keeps my concave-bottom mugs warm enough for my taste. I was kind of worried it'd be too small for some of my larger mugs, but the center plate is bigger than expected and accommodated every mug in my (very eclectic) collection perfectly. Based on all the reviews, I was pretty confident I'd soon be kicking myself for not getting it sooner, and that proved to be true: This thing not only looks good, but works great for keeping my coffee warm all day long (because yes, I'm one of those people that'll sip on coffee until 5 p.m., all right!!). Once you've chosen your sharpening and noise reduction settings, click Apply.BuzzFeed Shopping editor Jenae Sitzes says, "After seeing this coffee warmer all over BuzzFeed Shopping and even gifting my dad one for Christmas, I finally decided to buy one for myself. When it comes to filtering, you've got to make your own decisions. We can remove that by dialing back the Mids, even though we lose a little sharpness in the face, so everything is a balance. Now, you'd want to review these adjustments in Normal mode to verify that you didn't create artifacts like the haloing around the speaker's head, as shown in Figure 16 (below). If we adjust the Low, as shown in Figure 15 (below), we get the same thing: a sharper image without creating any additional artifacts.įigure 15. If we boost sharpness in the Mids, we increase sharpness without creating any obvious artifacts, as you can see in Figure 14 (below), which is a beneficial adjustment.įigure 14. In this example, if we sharpen the High regions to the max, we don't create any artifacts in the background that aren't already there, but we don't make it look much sharper either. Whenever adjusting Sharpening, you want to sharpen the ut increasing artifacts in the background. You can adjust the spatial frequency of the noise in all three of these channels in the high, low, and mid. But you might be able to get a little bit sharper video if you adjust the Cr and Cb channels manually. This is the Conservative option ( Figure 13, below). With the sharpening options that I chose earlier-the Filter and Sharpen preset-sharpened only in the Y channel, not the Cr and the Cb. One view, shown in Figure 12 (below), is the YCrCB view, with Y in the upper right, Cb in the lower right, Cr in the lower right, and the Original in the upper left.įigure 12 (below) shows the four-part split-screen preview. In this case, the Noise Reduction settings look fine, so let's adjust Sharpening.The filter provides several useful views for that, which you can choose via a control in the lower left hand corner. It's reducing only 60% of the noise in the Y channel, which is necessary to avoid giving your subjects a plastic-type look. In this example, we're already seeing that the filter is reducing the noise 100% in the three spatial frequencies-high, mid, and low-shown in Figure 8 ( on page 2 of this article). You might find that you want to mess a bit with the noise reduction amounts-that is, how much of the noise is actually eliminated-and the sharpening results. Adjusting Noise Reduction and Sharpening Amounts
0 Comments
Leave a Reply. |
 RSS Feed
